1. Step: Logistics
Shock absorbers are transported via courier, train or post.
2. Step: Opening the absorber
The shock absorber sleeve is cut. Now the absorber can be opened using a special tool.
3. Step: Oil recycling
The reusable ‘oil’ material is collected and returned to the relevant industry.
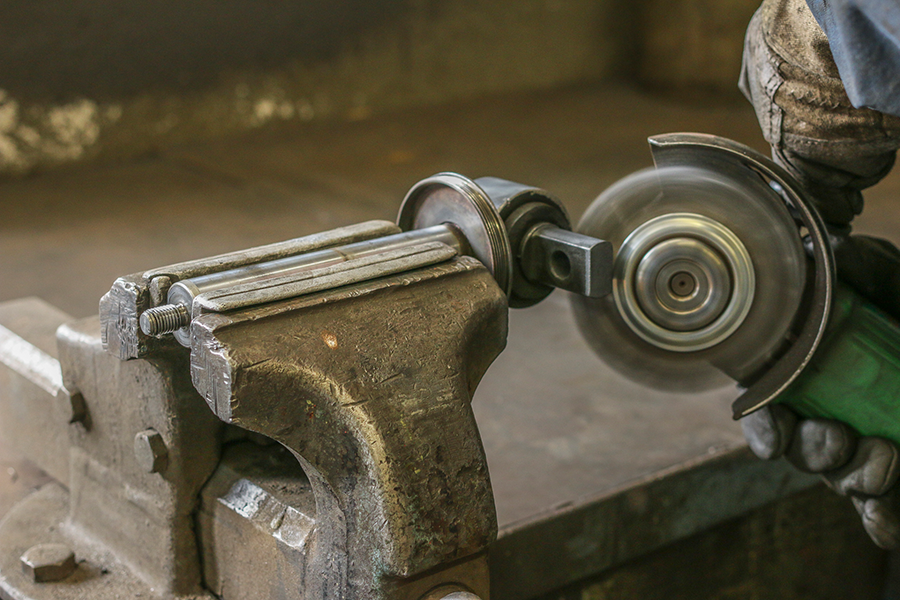
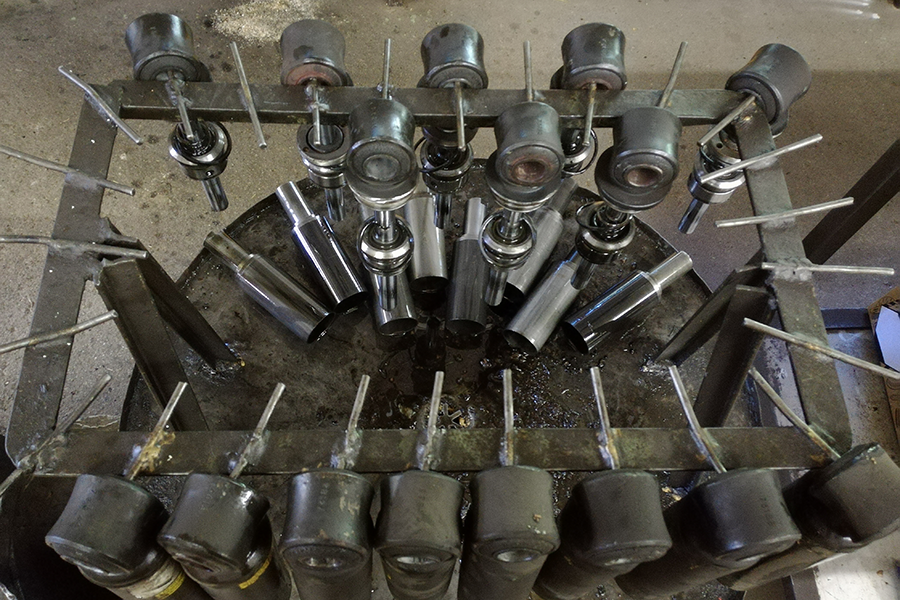
4. Phase: Absorber disassembly
The shock absorber is dismantled, cleaned and surveyed. Wear parts are restored or replaced as required. We only use parts from well-known manufacturers.

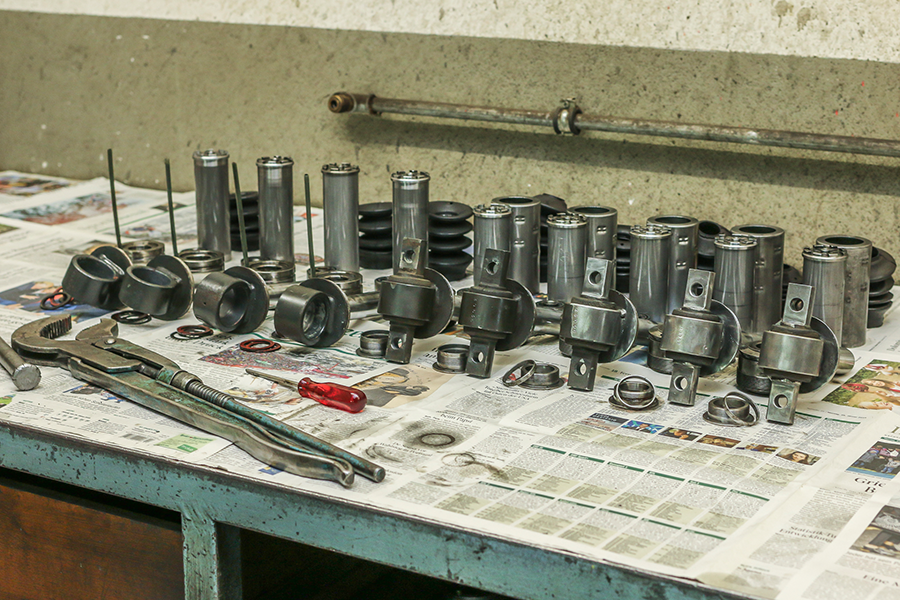
5. Step: All parts at a glance
All parts are cleaned by us. They are then reassembled step by step. Competency and precision form the basis and guarantee for functionality of the new shock absorber.
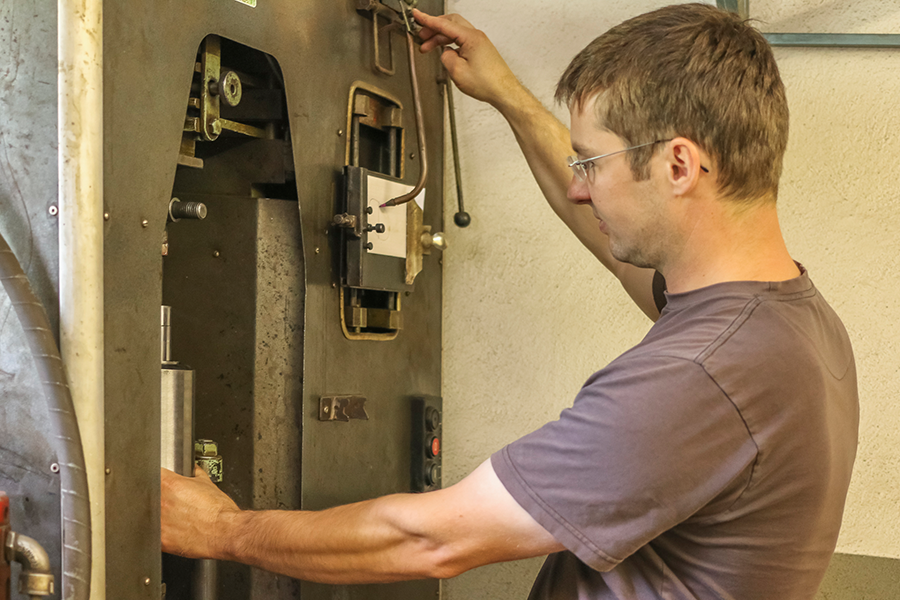
6. Step: Leakage check
Each absorber is placed under pressure for a minimum of 24 hours and checked for leakages.
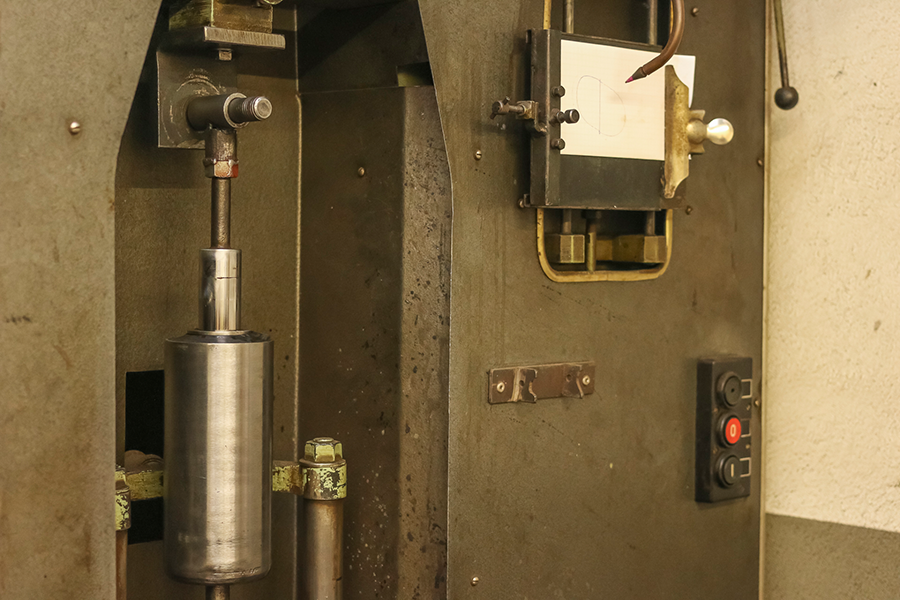
7. Step: Benchmark test
All shock absorbers have to prove their functionality under test conditions.
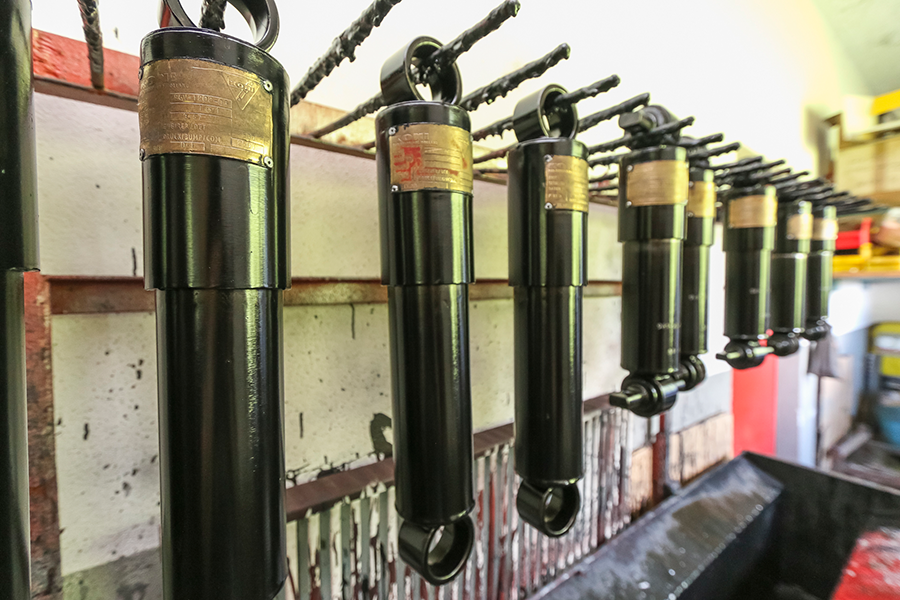
8. Step: Painting the absorber
Standard colours are black and red. However, we can also amend the ‘outfit’ of your absorbers to meet your requirements. We can paint your new shock absorbers in your desired colour.


")